
 Tweet
Tweet
[Image Missing]
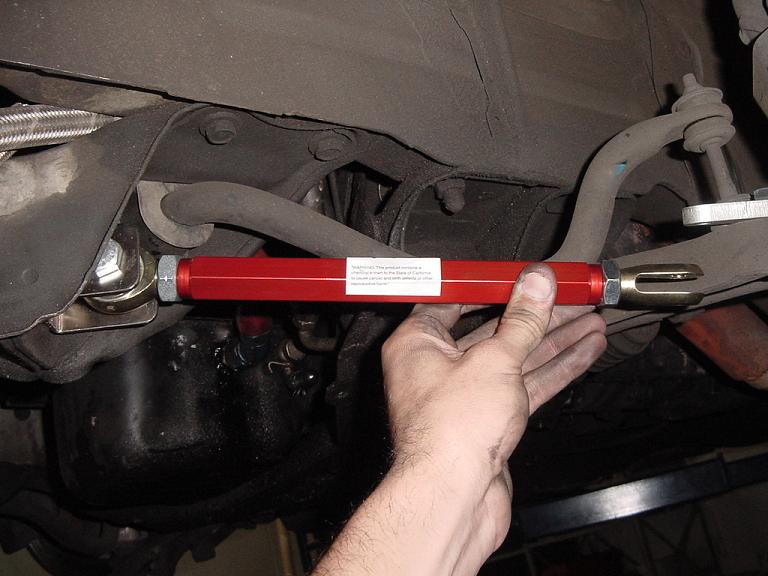
To start your install, you must first measure the position of your stock tension rods. This will allow you to go back to your stock settings.
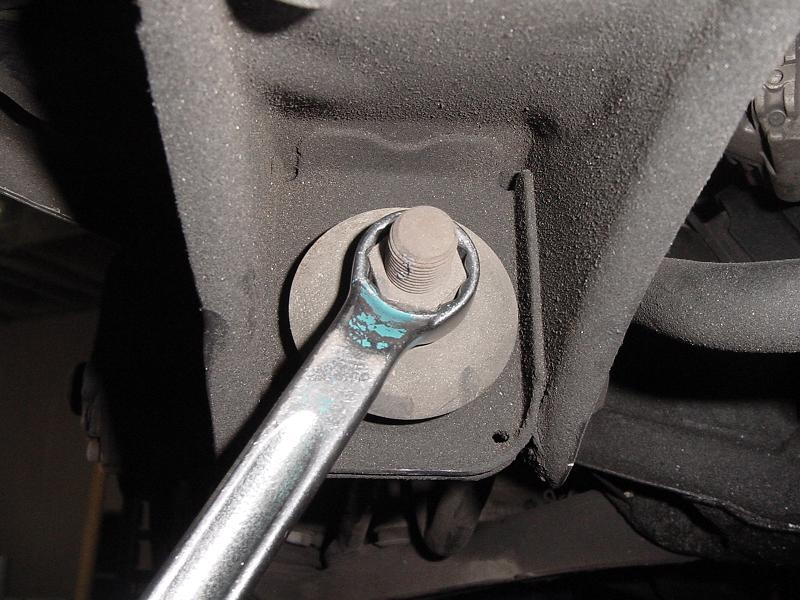
Remove the large end (nut) of the tension rod first.

Then remove the 2 bolts connecting the lower control arm and remove stock tension rod.
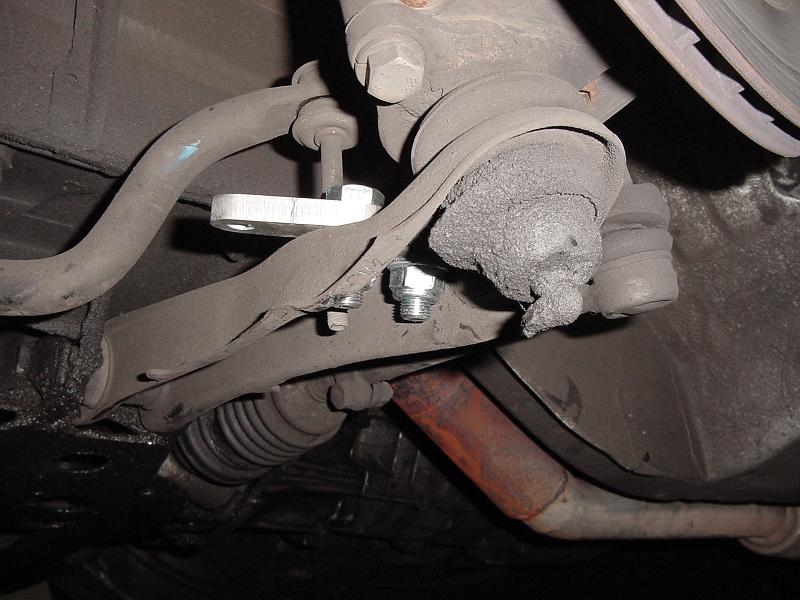
Next bolt on the new tension rod plate with the hardware supplied. Note, just the plate alone, it will make it easier.
When installing the tension rod, be sure to tighten the bolt running threw the rod end before putting it in place. Also make sure to use one of the large round washers on ether side of the stock bracket.
Holding the clevis end, turn the center section to line up the final bolt then slide it into place and tighten. Note, make sure you see equal amounts of thread on both the rod end and clevis end as it will give you the most strength.
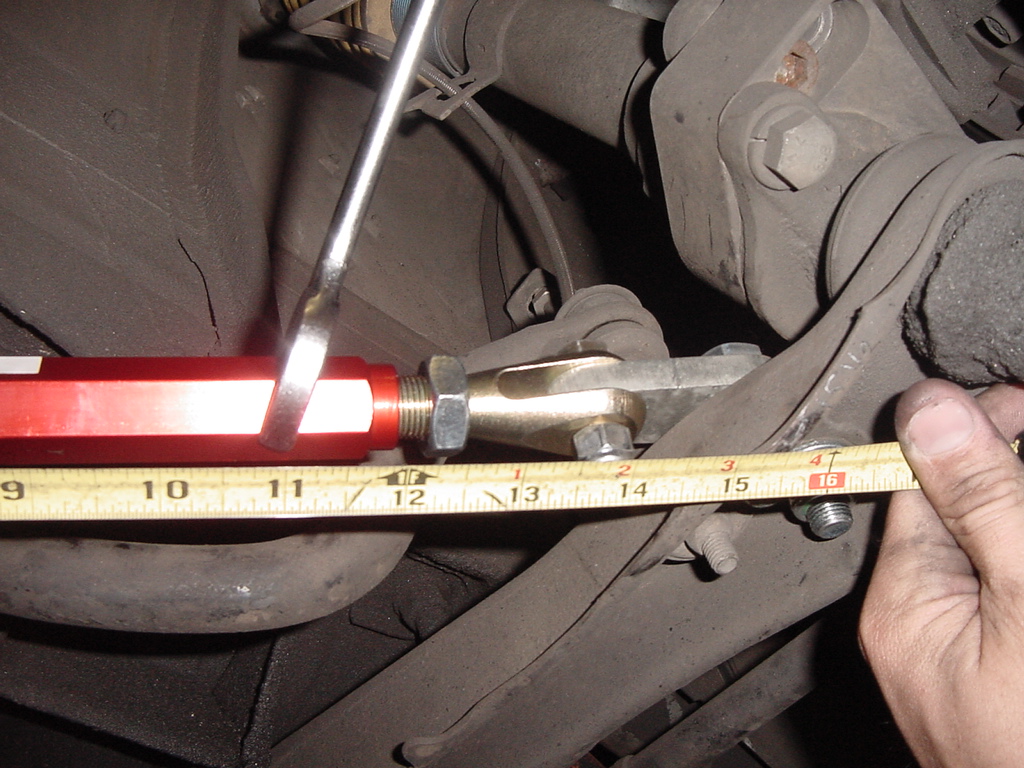
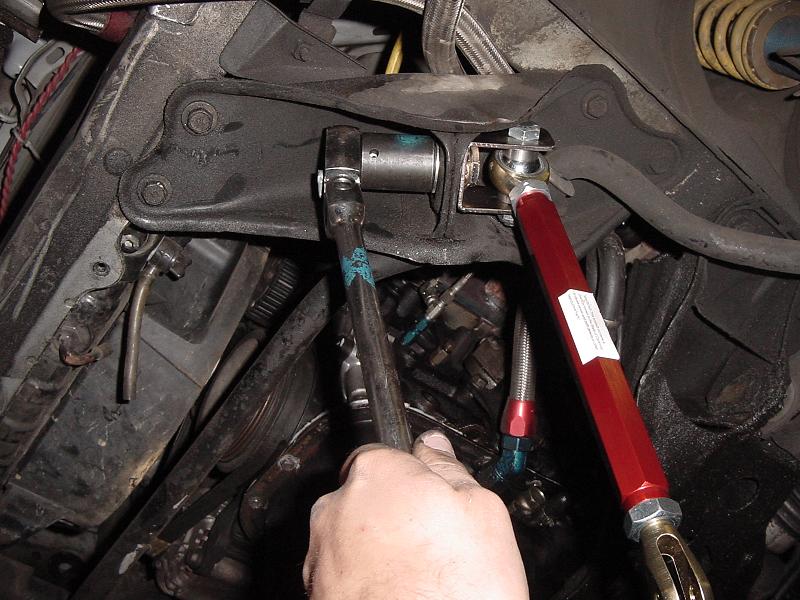
Once the bolt is in, then using a wrench, adjust the tension rod back to your starting measurements.
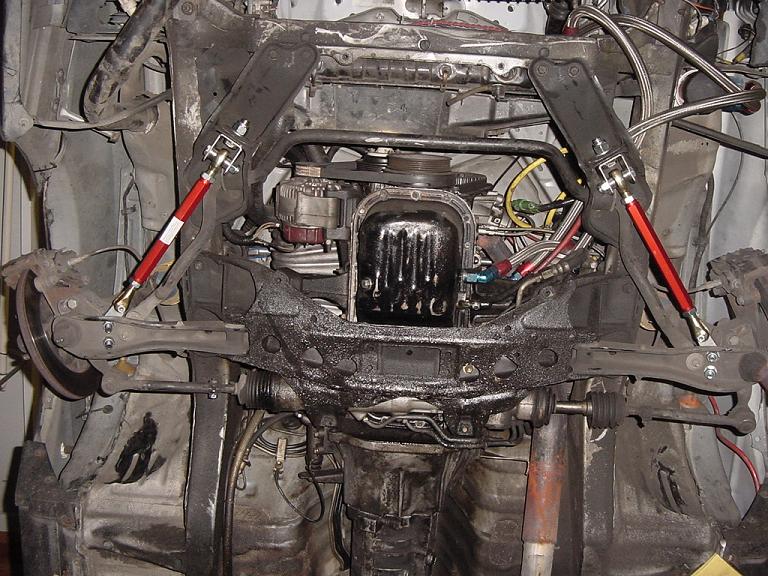
This is what they should look like installed.
http://www.battleversion.com/